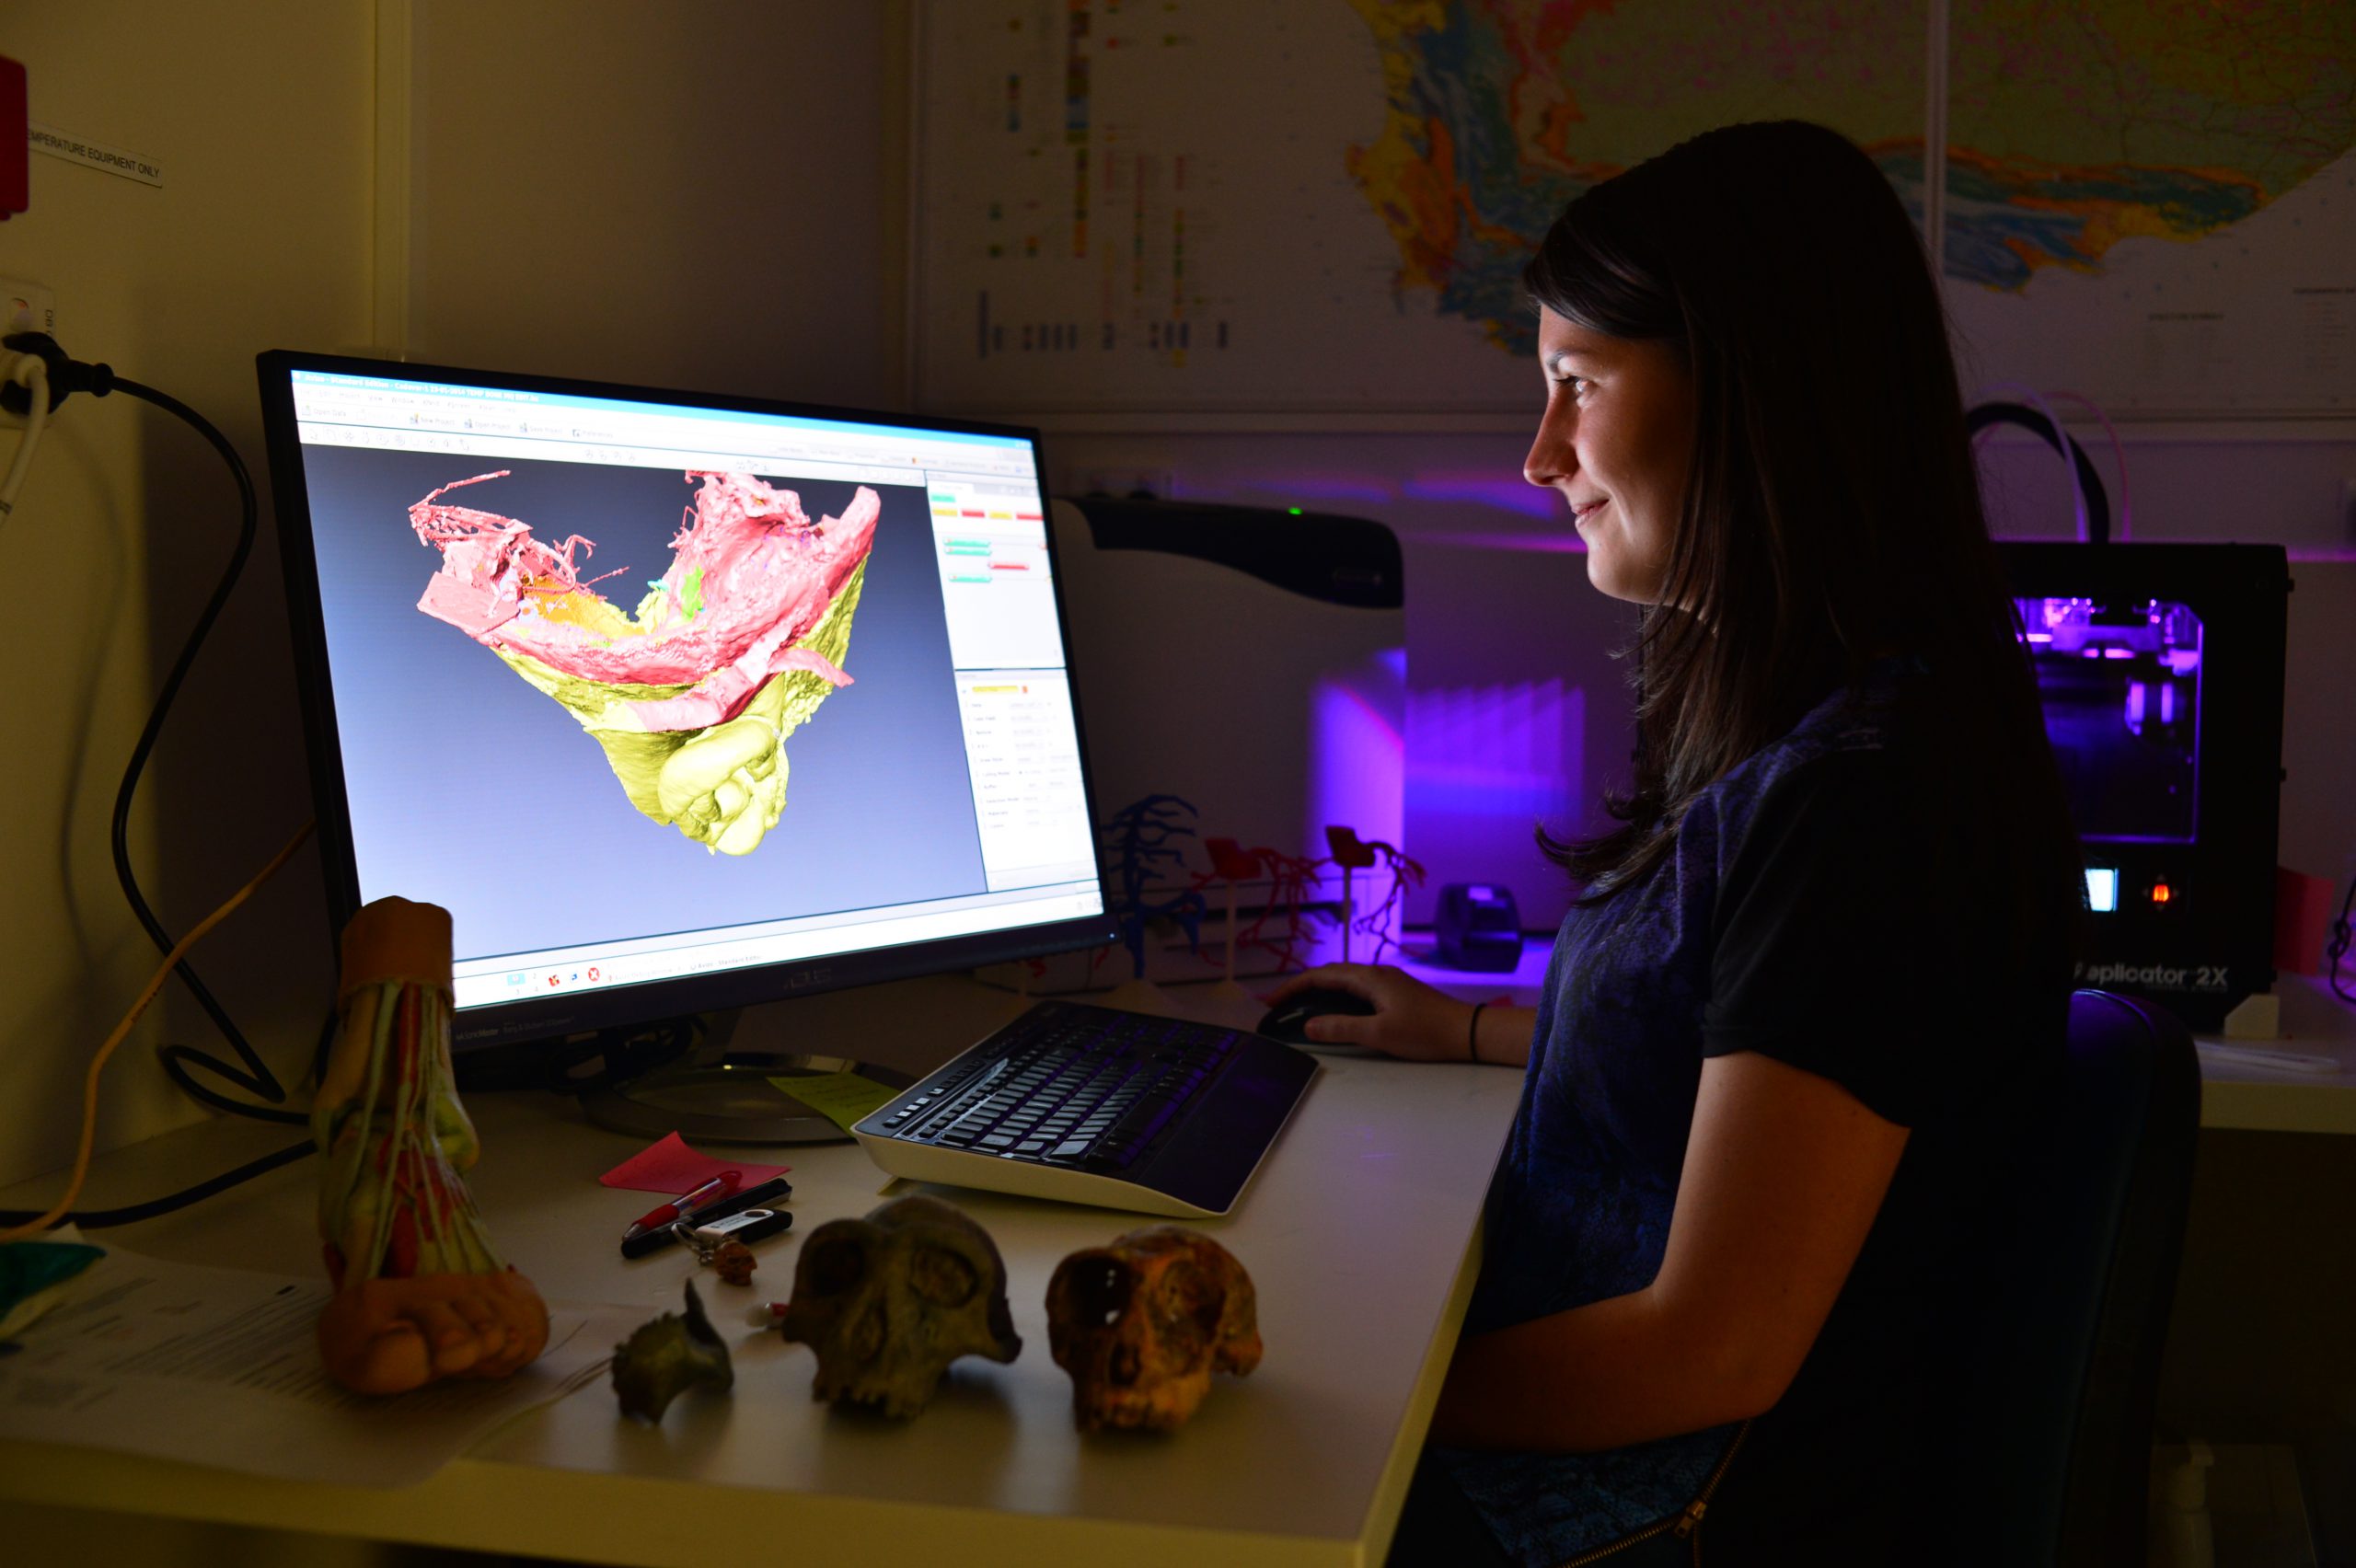
At Monash University’s Centre for Human Anatomy Education, Director Professor Paul McMenamin, Dr. Justin Adams, Ms Michelle Quayle (pictured below) and Dr. Simon Collins are creating a cost effective anatomical kit to be known as ‘The Monash 3D Printed Anatomy Series’ – a modern replacement of cadavers for those not lucky enough to have the real thing. A CT scanner is used to capture the surface geometry information of an anatomy specimen. These CT images are converted into a digital model of the specimen that is coloured and 3D printed to create a full sized replica of the original body part. The kit contains all the major parts of the body required to teach anatomy of limbs, chest, abdomen, head and neck. We had a chat to Michelle about the kit and the imaging tools and techniques used to create it. Here is what she had to say:
1 – We saw your article in the Monash Memo and are interested in 3D printing. Besides cadavers have you done anything else?
Our focus is 3D printing anatomy models for use as teaching aids, many of these models are created from scanning, modelling and printing cadaveric specimens from Monash’s Centre for Human Anatomy Education collection. These models show a variety of tissue structures including bones, muscles, blood vessels, nerves, ligaments and tendons. We are also helping surgeons by providing a service in which we create 3D printed models of patient CT scans for use in pre-surgical planning. Besides the human models, we have printed fossils, animal skulls, veterinary anatomy models, architecture models, student art pieces, cell models created from confocal imaging, dinosaur bones and even copies of taxidermy birds and lizards.
2 – What imaging equipment did you use?
Most of our models are created from CT scans. We have used a few different scanners throughout VBIC including Monash Biomedical Imaging’s small animal CT, The University of Melbourne’s Veterinary Hospital large animal CT, and most of our high resolution human scans come from the Melbourne Brain Centre CT scanner.
3 – So how do you go from specimen to 3D model?
For our high resolution scanning, iterative reconstruction techniques, typically used in the field of nuclear medicine (SPECT and PET imaging) have been used to further enhance contrast between tissues and surface detail. In creating our models, we used different software packages such as such as VSG Avizo (which we access through the Multi-modal Australian ScienceS Imaging Visualisation Environment, MASSIVE and Materialise’s Mimics (purchased by the Centre for Human Anatomy Education). The software is used to convert the CT data into segmented models which can be 3D printed. We also use CAD software to edit the models and add colour to distinguish certain features.
The timeframe depends on the type of model produced. Something like a simple bone or skull model can be segmented and printed within a few hours. Our more complex coloured models take a few weeks to get the anatomy modelled, identified, coloured and printed.
Our final model is an exact copy of the geometry of the original specimen 3D printed in full colour. These models are used for teaching anatomy to medical, physiotherapy, and nursing and biomedical science.
4- How did you find accessing and using all the equipment?
Accessing the equipment was simple and straightforward. For example in the Melbourne Brain Centre, Rob Williams who runs the CT scanner helped us with our booking and provided valuable skills and information to help us take high resolution CT images of our specimens.
5- Are you interested in working with others on their 3D printing needs?
Yes, we have helped create 3D print models for many different groups on both our full colour powder printer and plastic desktop 3D printer. We welcome anyone who wants to do 3D prints.
6 – Thanks for your time Michelle.
Its great to see the integrated use of VBIC equipment has supported the creation of the 3D printed anatomical specimens.


0 Comments